Shaders are a quick and effective way to blend, or composite, images together.
Blend Modes
Exercise
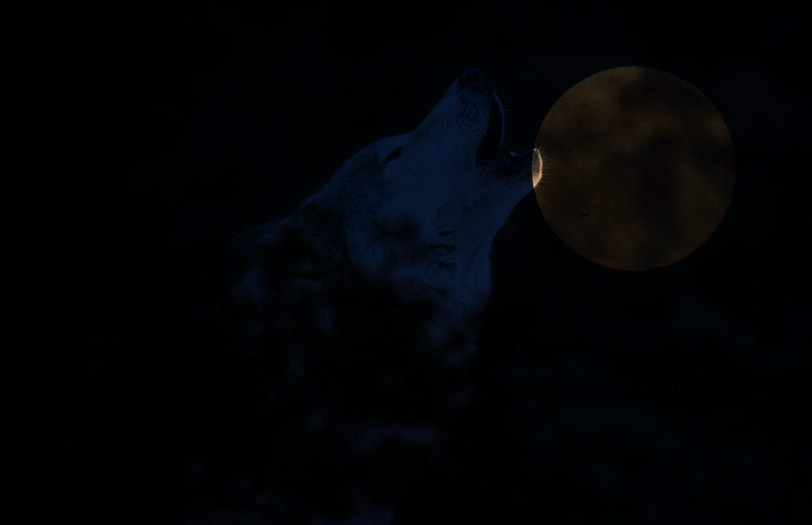
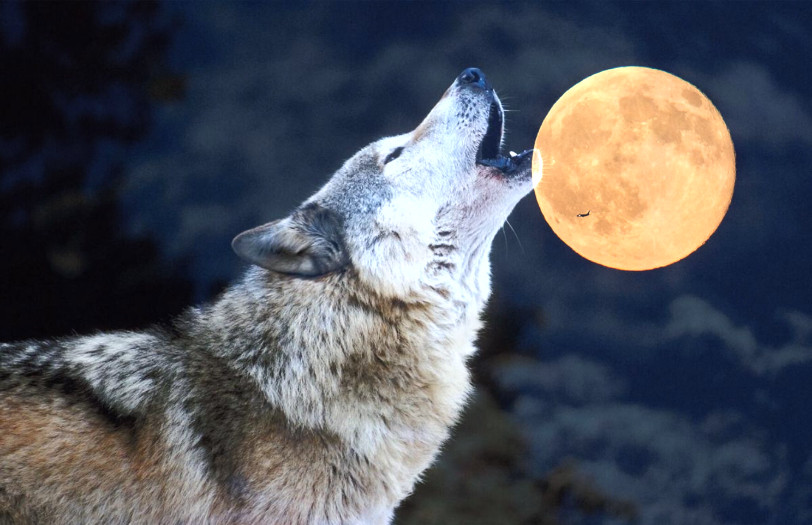
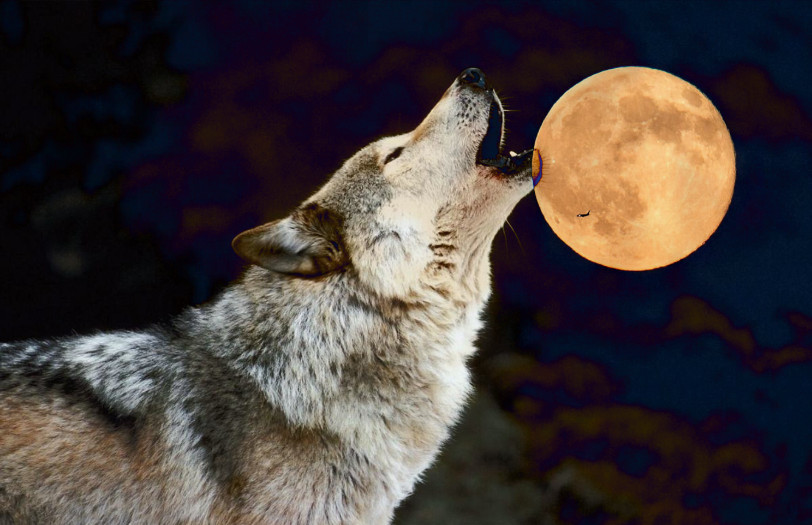
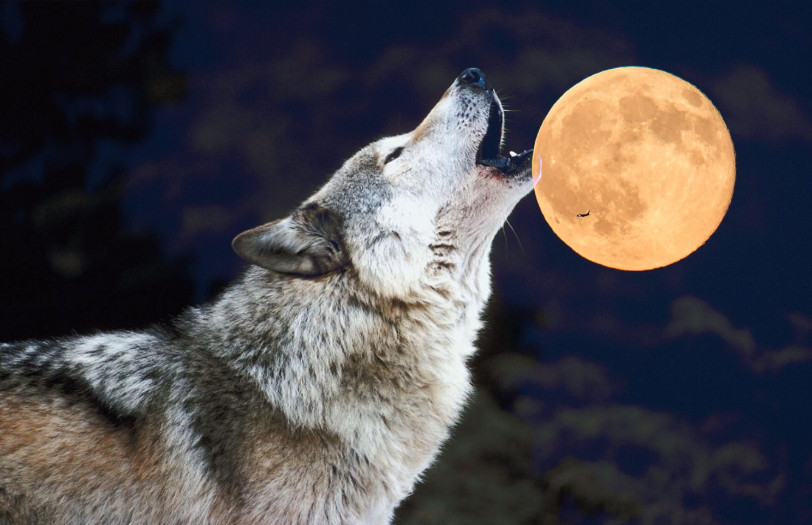
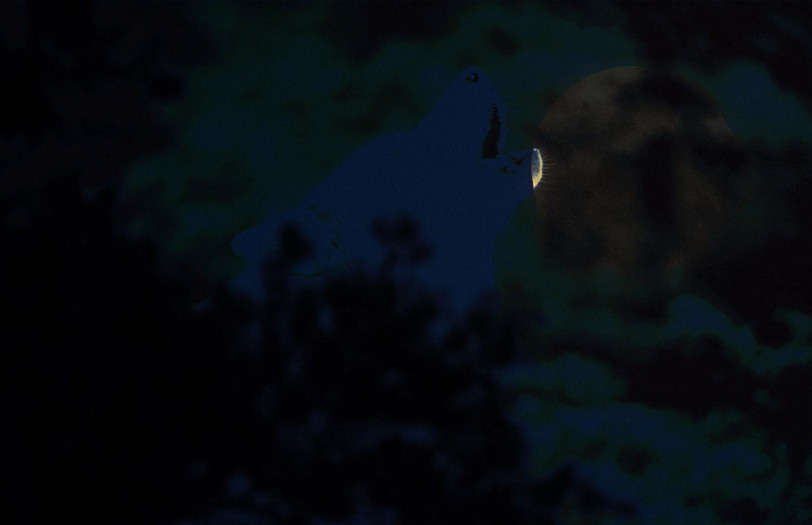
Let’s start with an exercise, where you will write a p5.js shader to blend two images together.
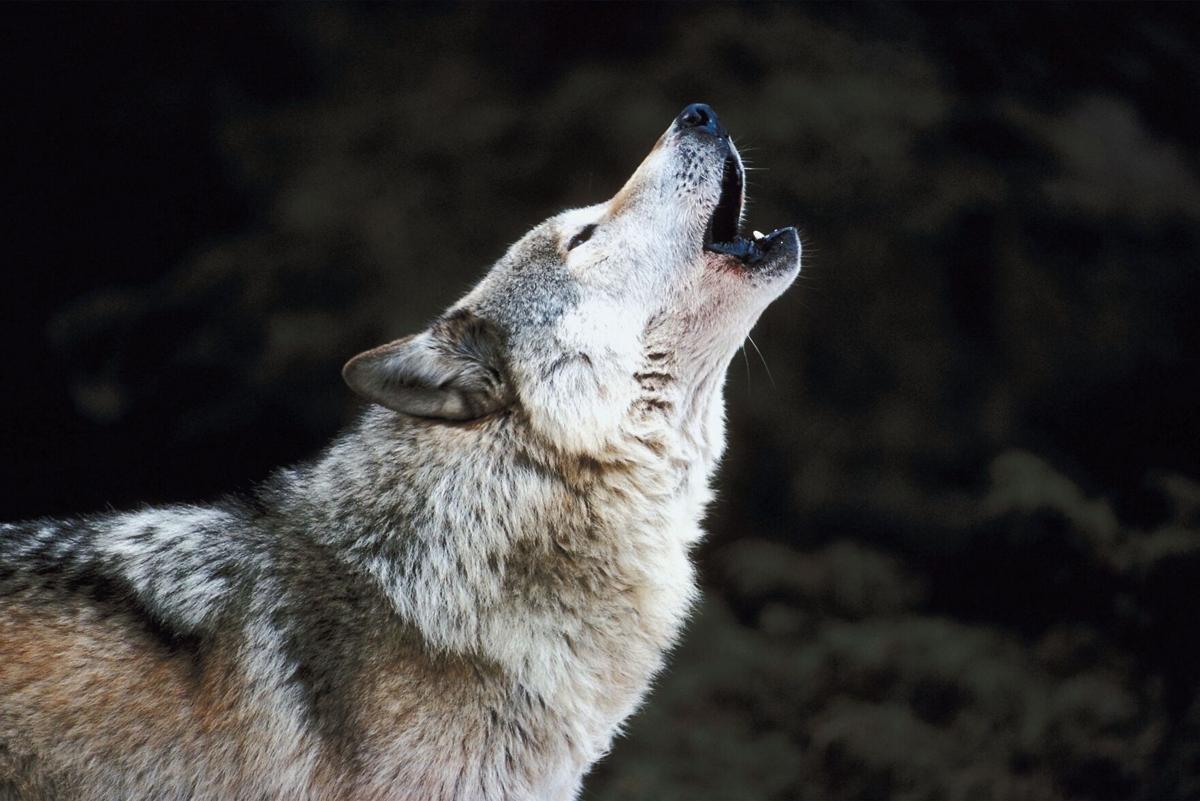
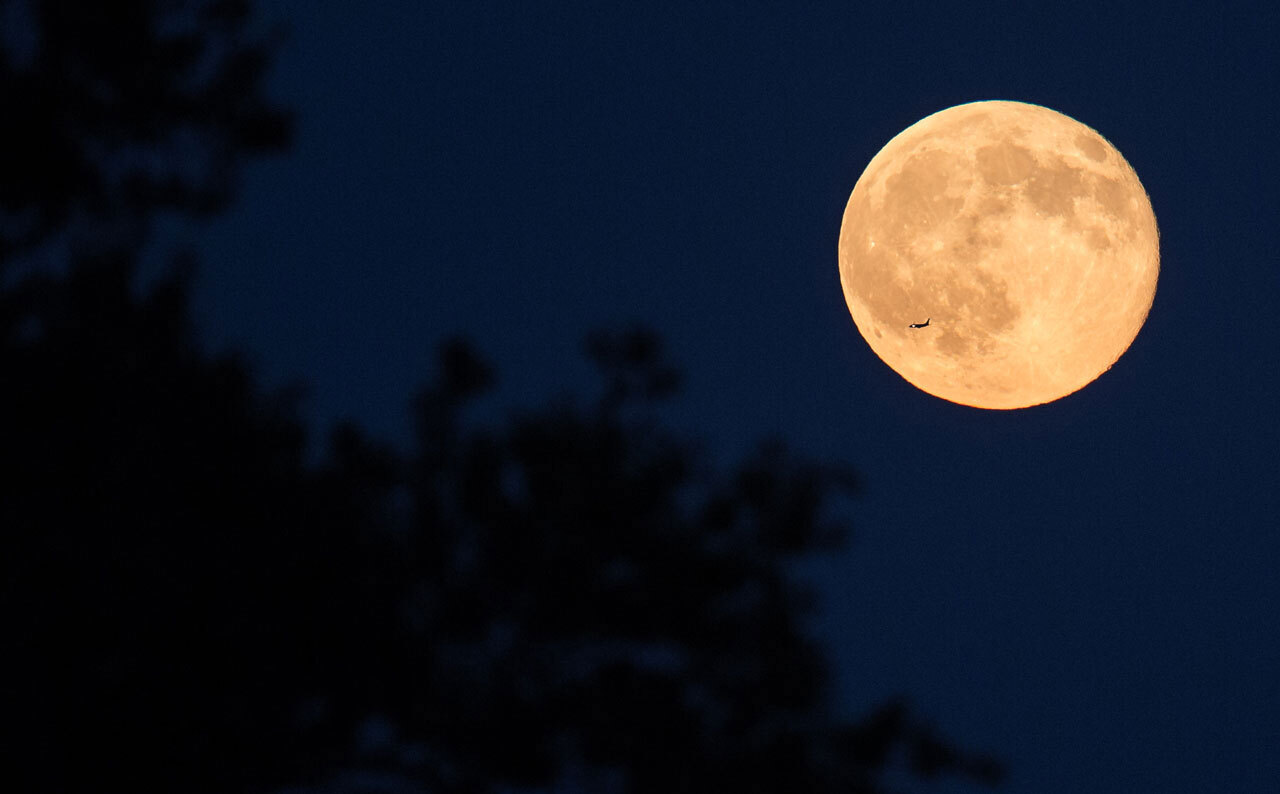
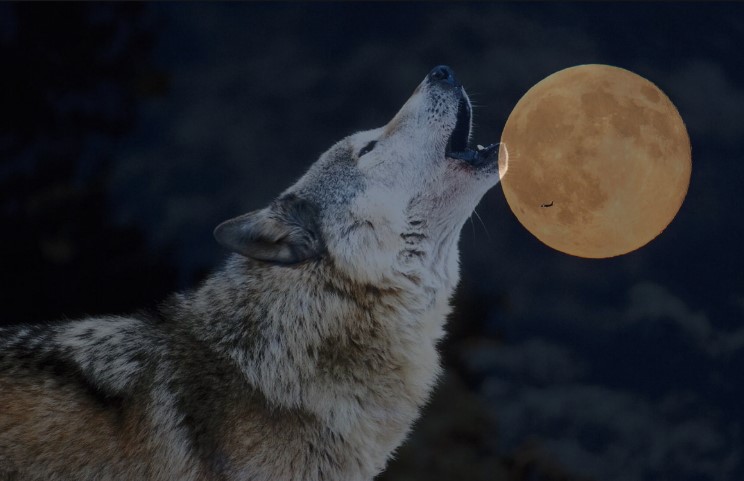
You can use the same wolf and moon images I am using for my awesome design, or you can use any other two images you want.
Once you’ve figure it out, try different blend modes, similar to Photoshop blending modes. Can you mimic a multiply, additive, dodge, or burn blending mode?
Drawing Rectangles
When drawing rectangles, we can use the rect() drawing function instead of beginVertex(), vertex(), and endVertex(). The drawn shape will have its positions and texture coordinates automatically set in normalized space [0, 1], so we need to update the vertex pass to reflect this. Note that we don’t need to use the model view projection matrices anymore, we just need to convert the coordinates to the clip space range [-1, 1].
This is much simpler to write so we can use this for any fullscreen 2D drawing. Notice that the images are coming in flipped vertically, due to a mismatch in the texture coordinates. This can easily be flipped back in either the vertex or fragment shader. We want to invert the range from [0, 1] to [1, 0], and can do this by subtracting the y texture coordinate from 1.0. We can also flip the x texture coordinate to mirror the image horizontally.
Background Subtraction
Shaders can be very useful and fast for computer vision. One very common operation we will encounter is background subtraction.
A simple implementation is to save one frame of video as the background reference, and then calculate the difference between the current video frame and the background frame to get a “foreground” frame.
We will use p5.Image.get() to save the background frame as a p5.Image and pass it into the shader as a second sampler2D uniform variable.
This does not look quite right. We are using the result of our pixel subtraction directly, but instead we should use it as a mask for the foreground image.
Adaptive Background
You may have noticed in the previous example that as soon as the light changes or the camera moves even slightly, the background frame is no good anymore.
One solution is to manually recapture the background, but this is not ideal (especially for an installation!) because we would need to keep checking if our background is valid or not, and would need to move all foreground elements out of the frame to recapture the background.
Another option is to use a running background: a background that gradually adapts itself over time to the changing conditions. This works by adding a little bit of the current frame to the background on every loop. If the light or background content changes, this will gradually make its way to the background frame. Any foreground element won’t be present in the video long enough to make it into the background frame.
Let’s implement this in two parts. First we will build our running background, and once that is working properly we can use it as input in our background subtraction code.
Offscreen Buffer
We will render this first part to something called an offscreen buffer. This is similar to the canvas we have been using so far, but it doesn’t get drawn to the screen. It just lives in GPU memory and can be used as a sampler for the second part.
- In p5.js, we can create an offscreen buffer using
createGraphics(). This call looks a lot likecreateCanvas()and will also requireWEBGLas the third parameter. - A
p5.Graphicsobject can be used like a canvas. We can enable a shader by callingshader()on the graphics object, we can draw a rectangle by callingrect()on the graphics object, etc. - Nothing will be draw on screen since we are rendering our rect inside the offscreen buffer. We can treat this buffer as a
p5.Imageand draw it to the screen using theimage()function.
Mixing Images
Our shader is similar to our exercise where we blended two images together, except we will use a uniform to control the blending weight in the GLSL mix() function. mix() takes 3 parameters, the first two can be numbers or vectors (or colors) and the third is a blending weight, indicating how much of each number or vector to use in the output. The blending weight is a float in the [0.0, 1.0] range.
Whenever we want to reset the background (or the first time the loop runs), we want to copy the current frame as-is into the background. Therefore, the blending weight should be 1.0. The rest of the time, we will want to keep most of the current background and only add a bit of the current frame. For example, a blending weight value of 0.1 will only blend in 10% of the current frame (into 90% of the background frame).
Note that we use backImage both as a uniform texture as input, and as our render buffer as output.
Oddly enough, the mirroring does not seem to match up. I’m not exactly sure what’s going on here, but my guess is that custom graphics (our background frame) are coming in flipped, and built-in graphics (our webcam image) are coming in un-flipped. This is likely a bug, but we can easily fix it by flipping the UVs (another name for texture coordinates) for the custom image.
Better Subtraction
Now that our background image is properly rendered, we can use it in our original background subtraction code. We just need to bring it in as a uniform variable instead of the p5.Image. We are back to drawing into our main canvas, or on-screen buffer, so we can make calls to shader() and rect() directly in the sketch.
Note that we can use the same code for the vertex pass of both shader programs, so both are using the same file for the vertex input.
We still have a flipped image issue here, which we can solve by flipping the UVs on the webcam image again.